Making Graduation Caps for Kids
/
Completing milestones is a big deal for kids. Whether it’s the transition from preschool to kindergarten, elementary school to middle school, or even the transition from one year to the next, the completion of another school year is worth celebrating!
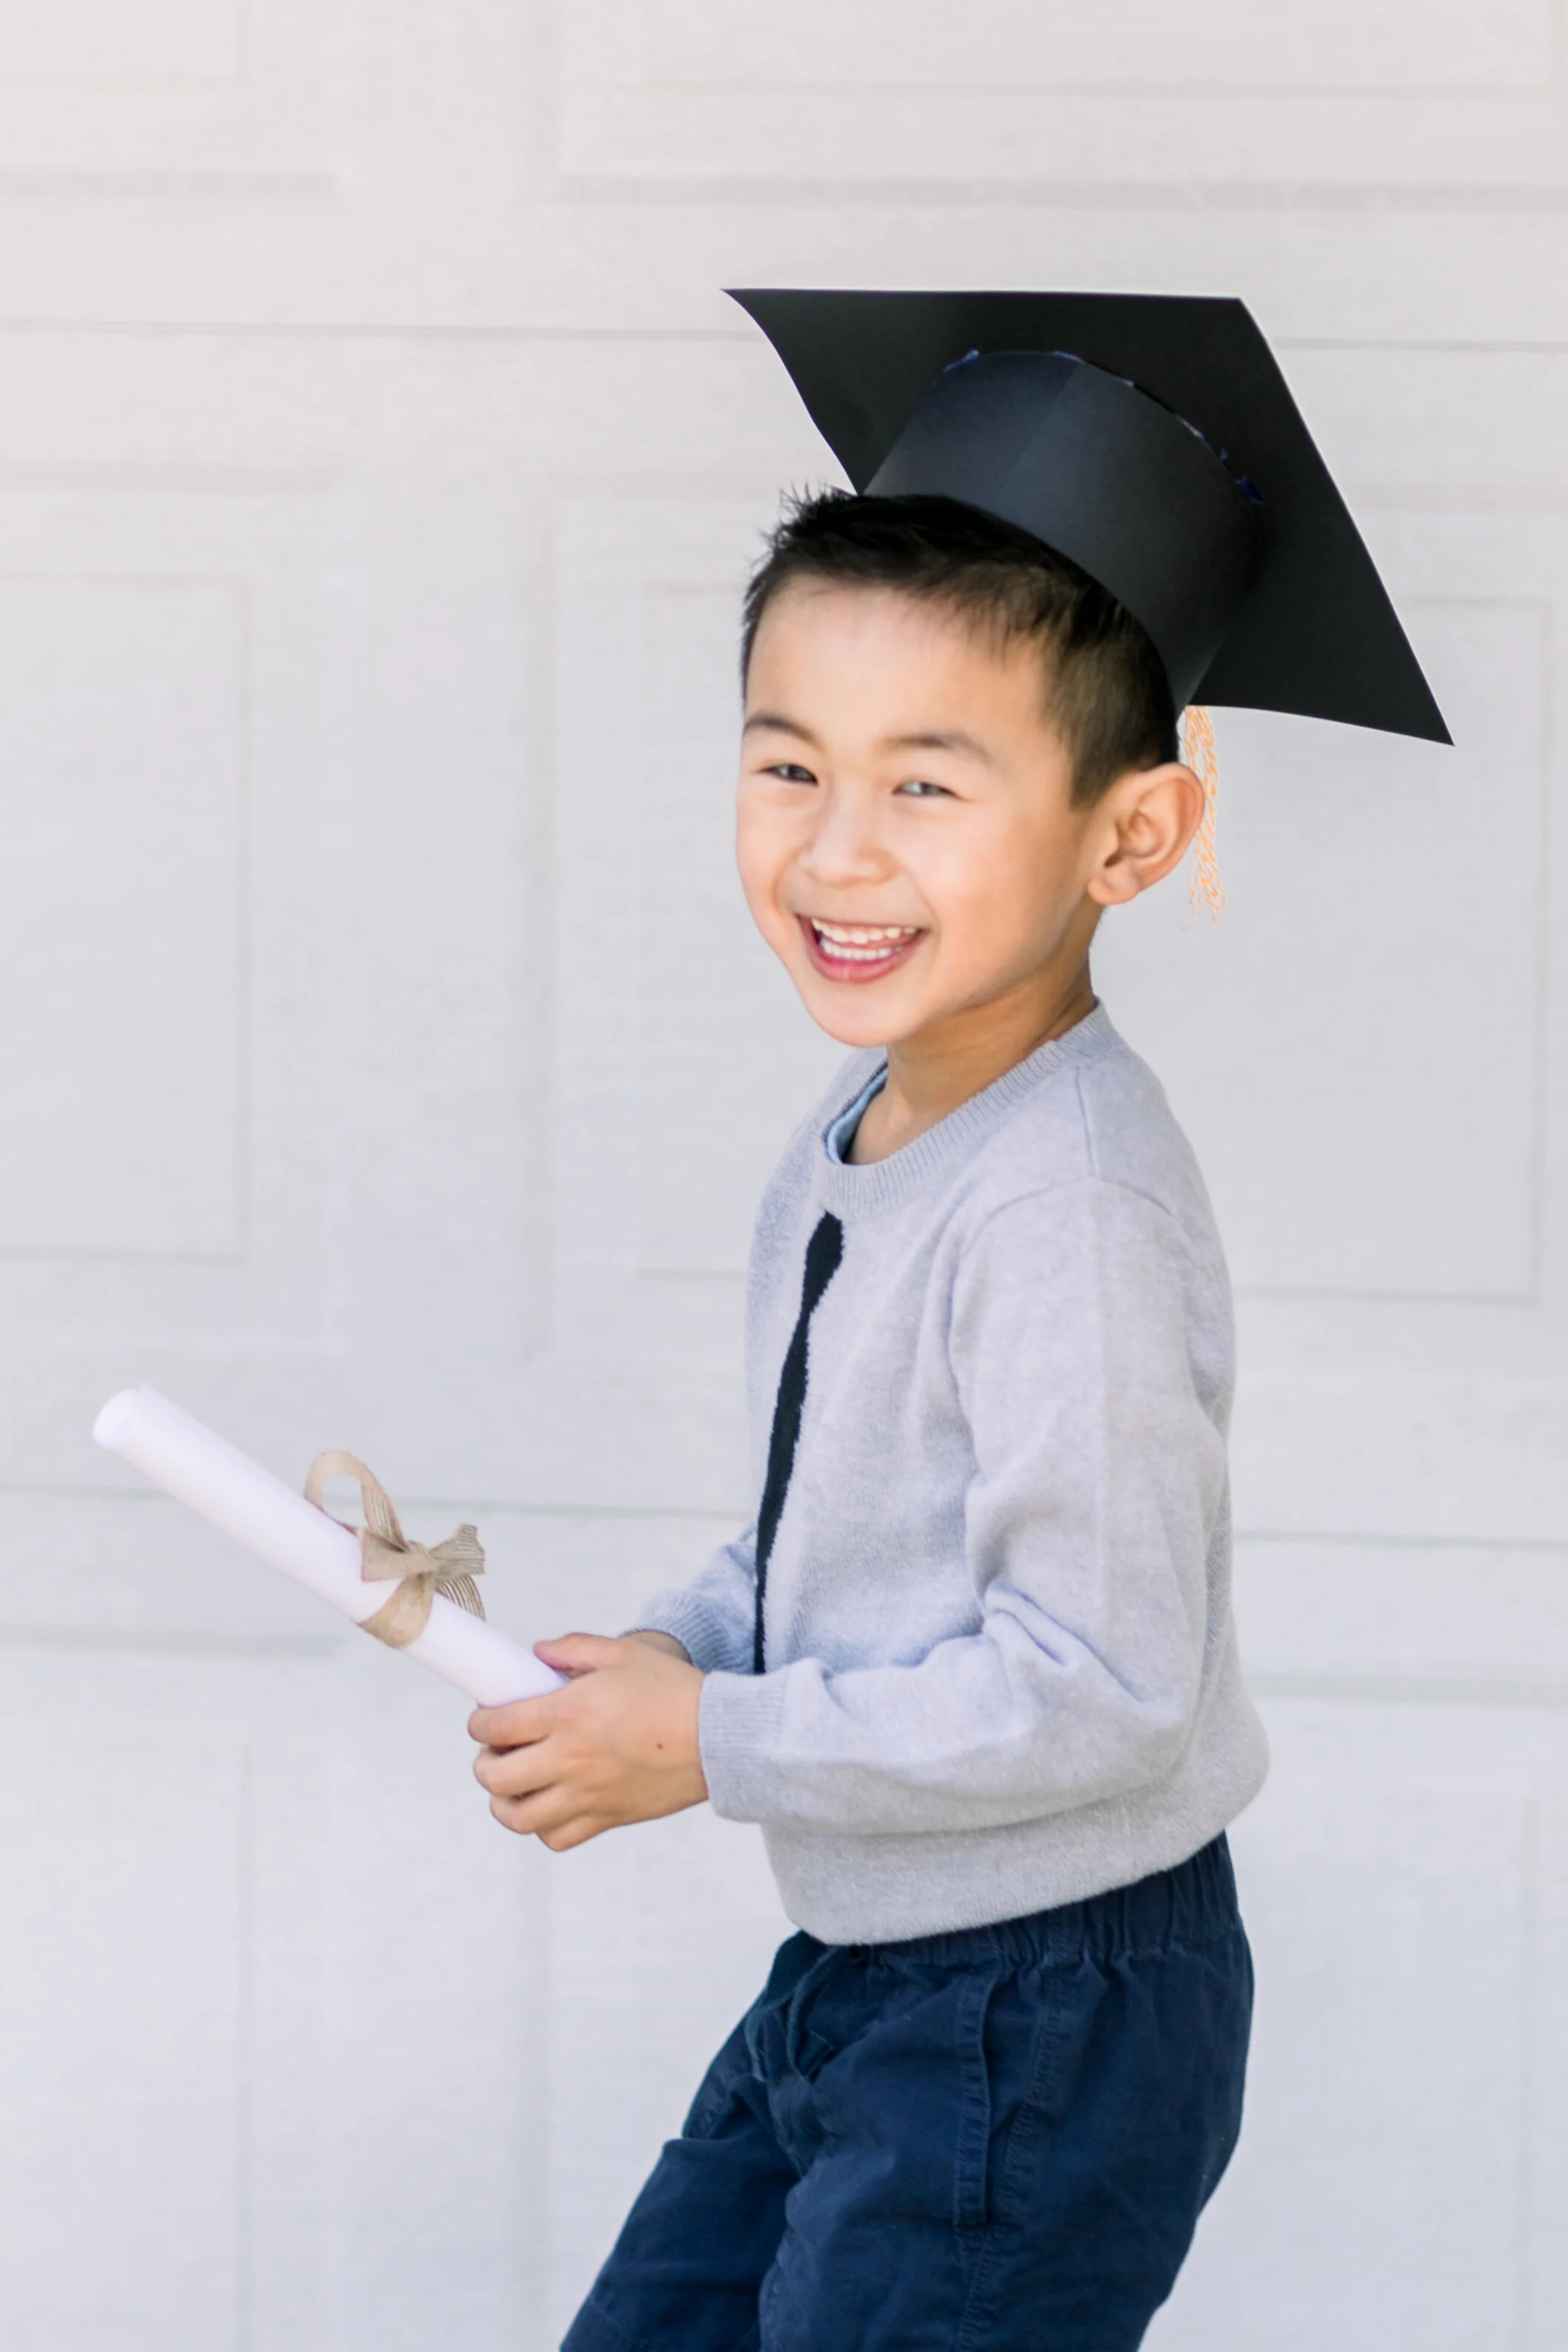
With the close of the school year quickly approaching, many of our rascals are transitioning to the next big step in their lives without being able to share this moment with friends, family, and teachers. However, not being physically in school doesn’t mean we have to forego celebrating their achievements altogether; it just makes celebrating a little bit different. Our youngest rascal completed preschool this year, and he’s ready for kindergarten in the Fall. One way we celebrated this achievement was making our own graduation caps!

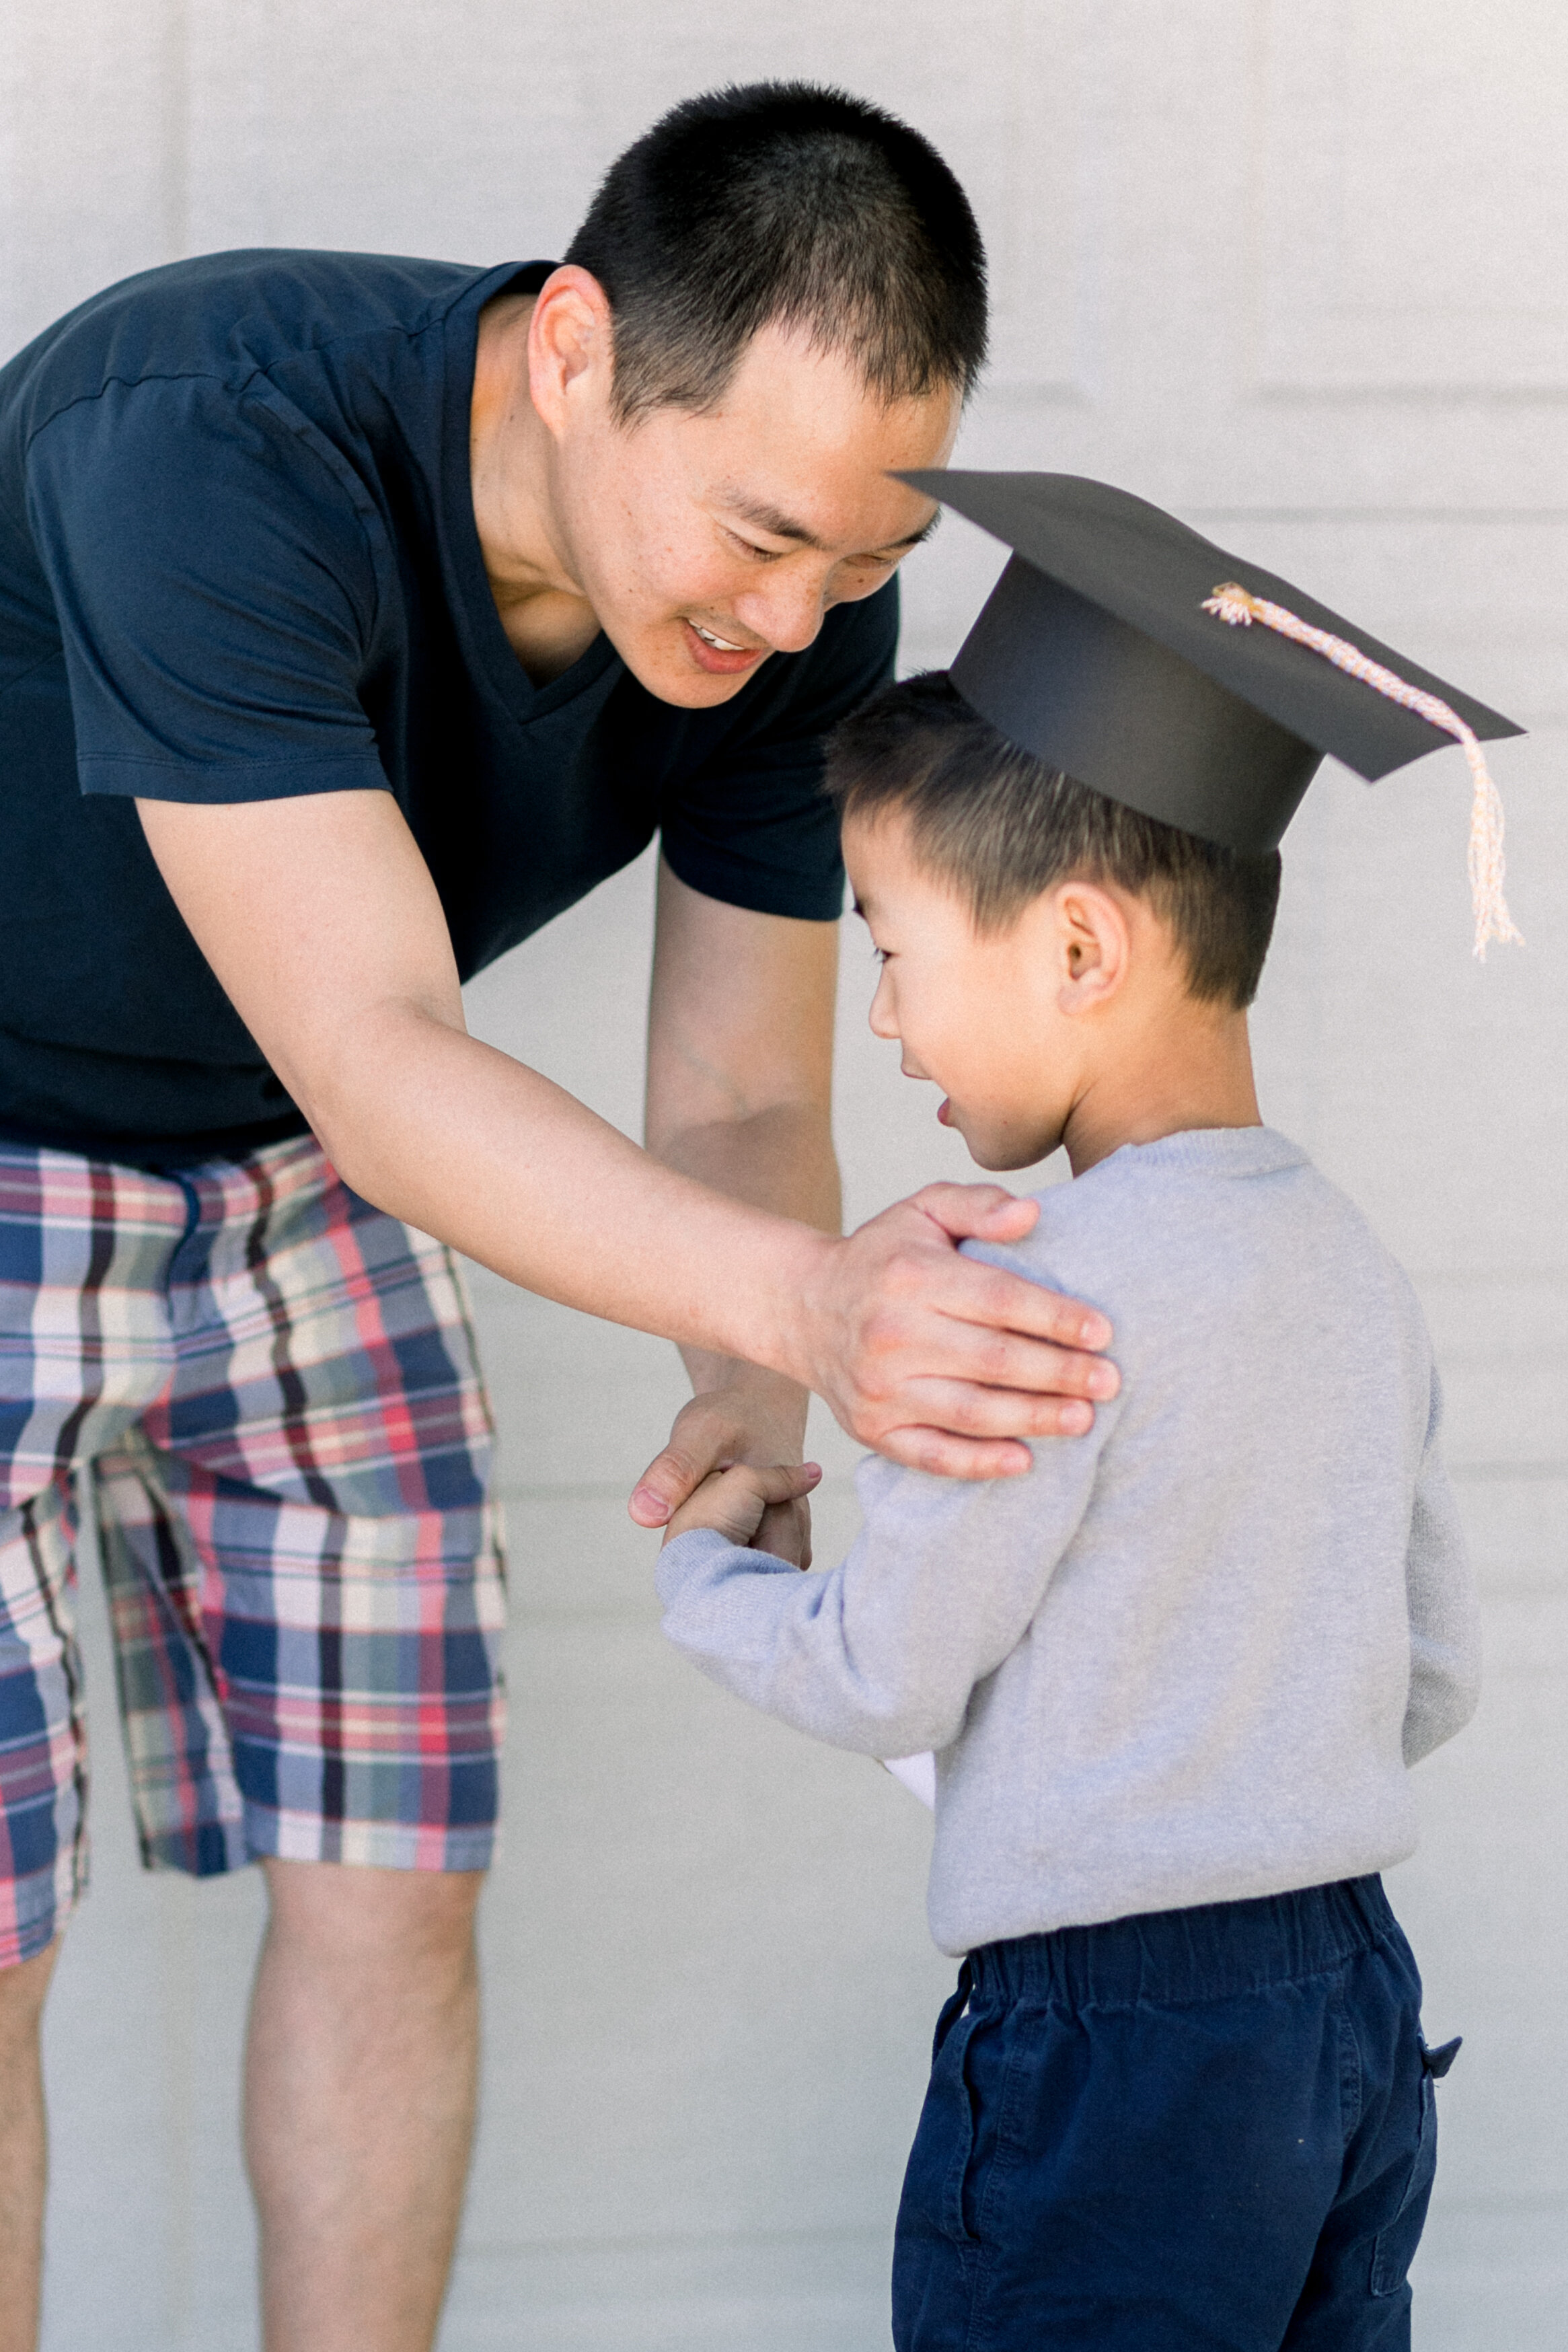
Schooling for most of us has been different, but you can still make this moment a really special event with this super simple DIY project! Create a graduation cap for your child, paired with your own at-home recognition ceremony, and they will feel like a star!
Here is how you can make your own graduation cap at home:
Supplies Needed:
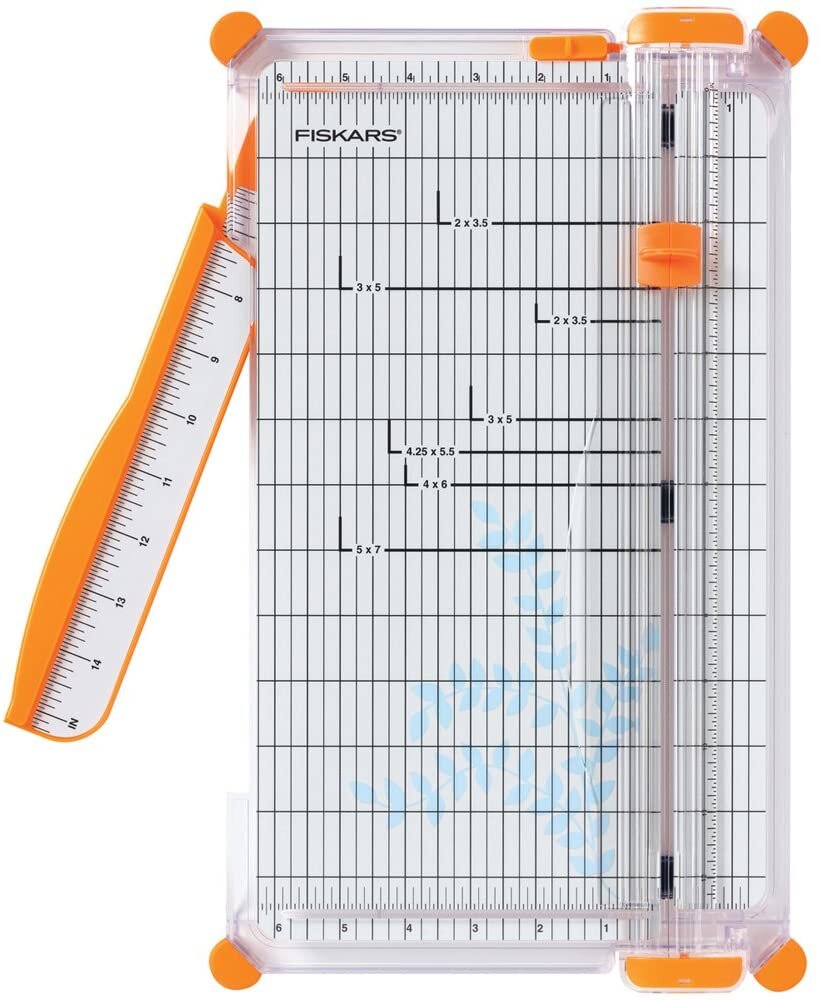
10 inch by 10 inch colored cardstock paper (ideally black)
Hot glue gun
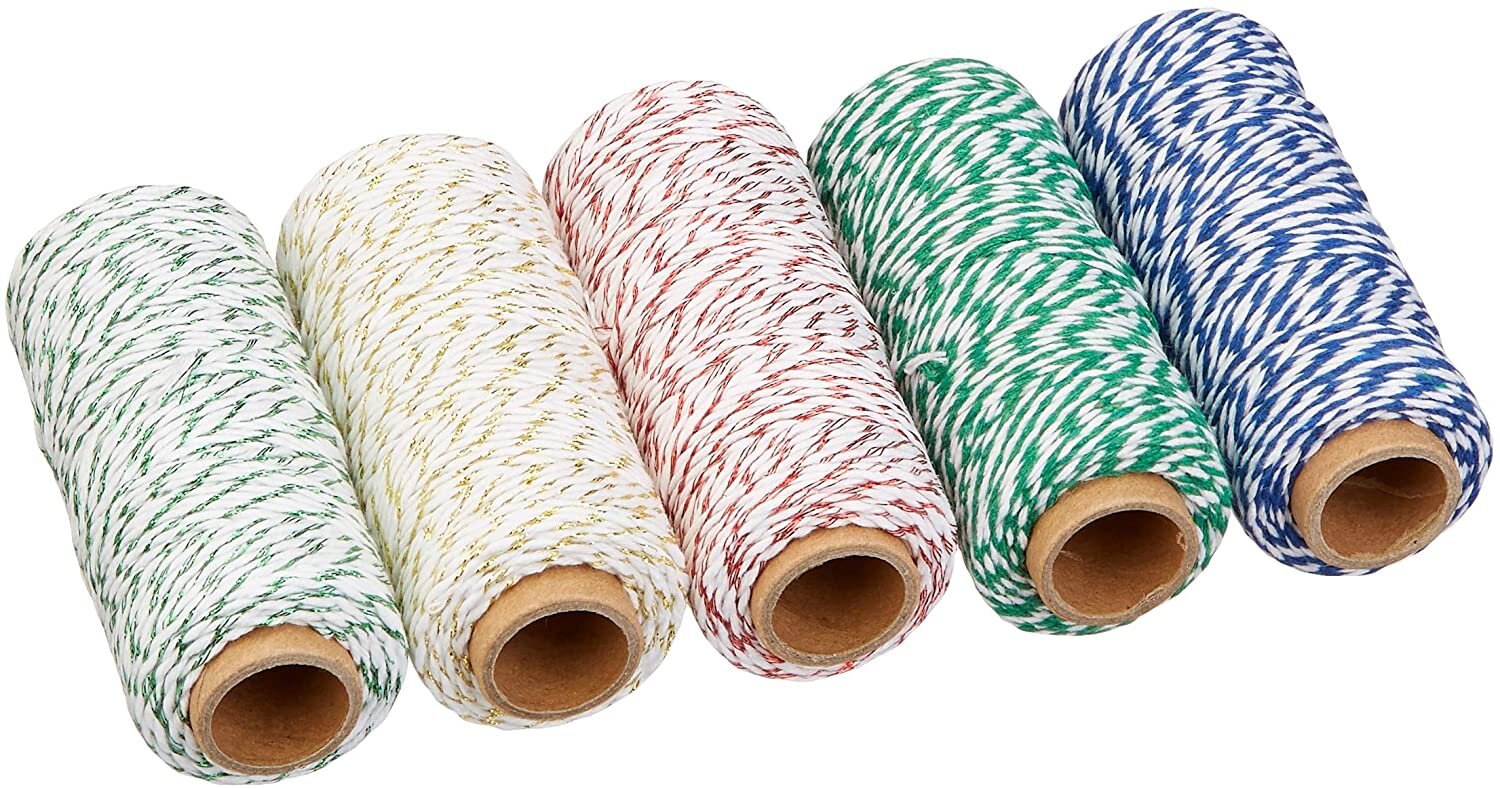
Yarn or ribbon
Scissors or paper cutter
Instructions:
1. Start by cutting the top of the graduation cap out of the cardstock paper. Kids have smaller heads than us, so keep this in mind when measuring it out! You will need a square that is approximately 7 inch by 7 inch. Feel free to adjust this size based on your child’s needs.
2. Next, you can begin assembling the lower half of the graduation cap. For this part, you will need two strips of cardstock paper. Measure around your child’s head, then cut out enough so that the cap fits around their head comfortably.

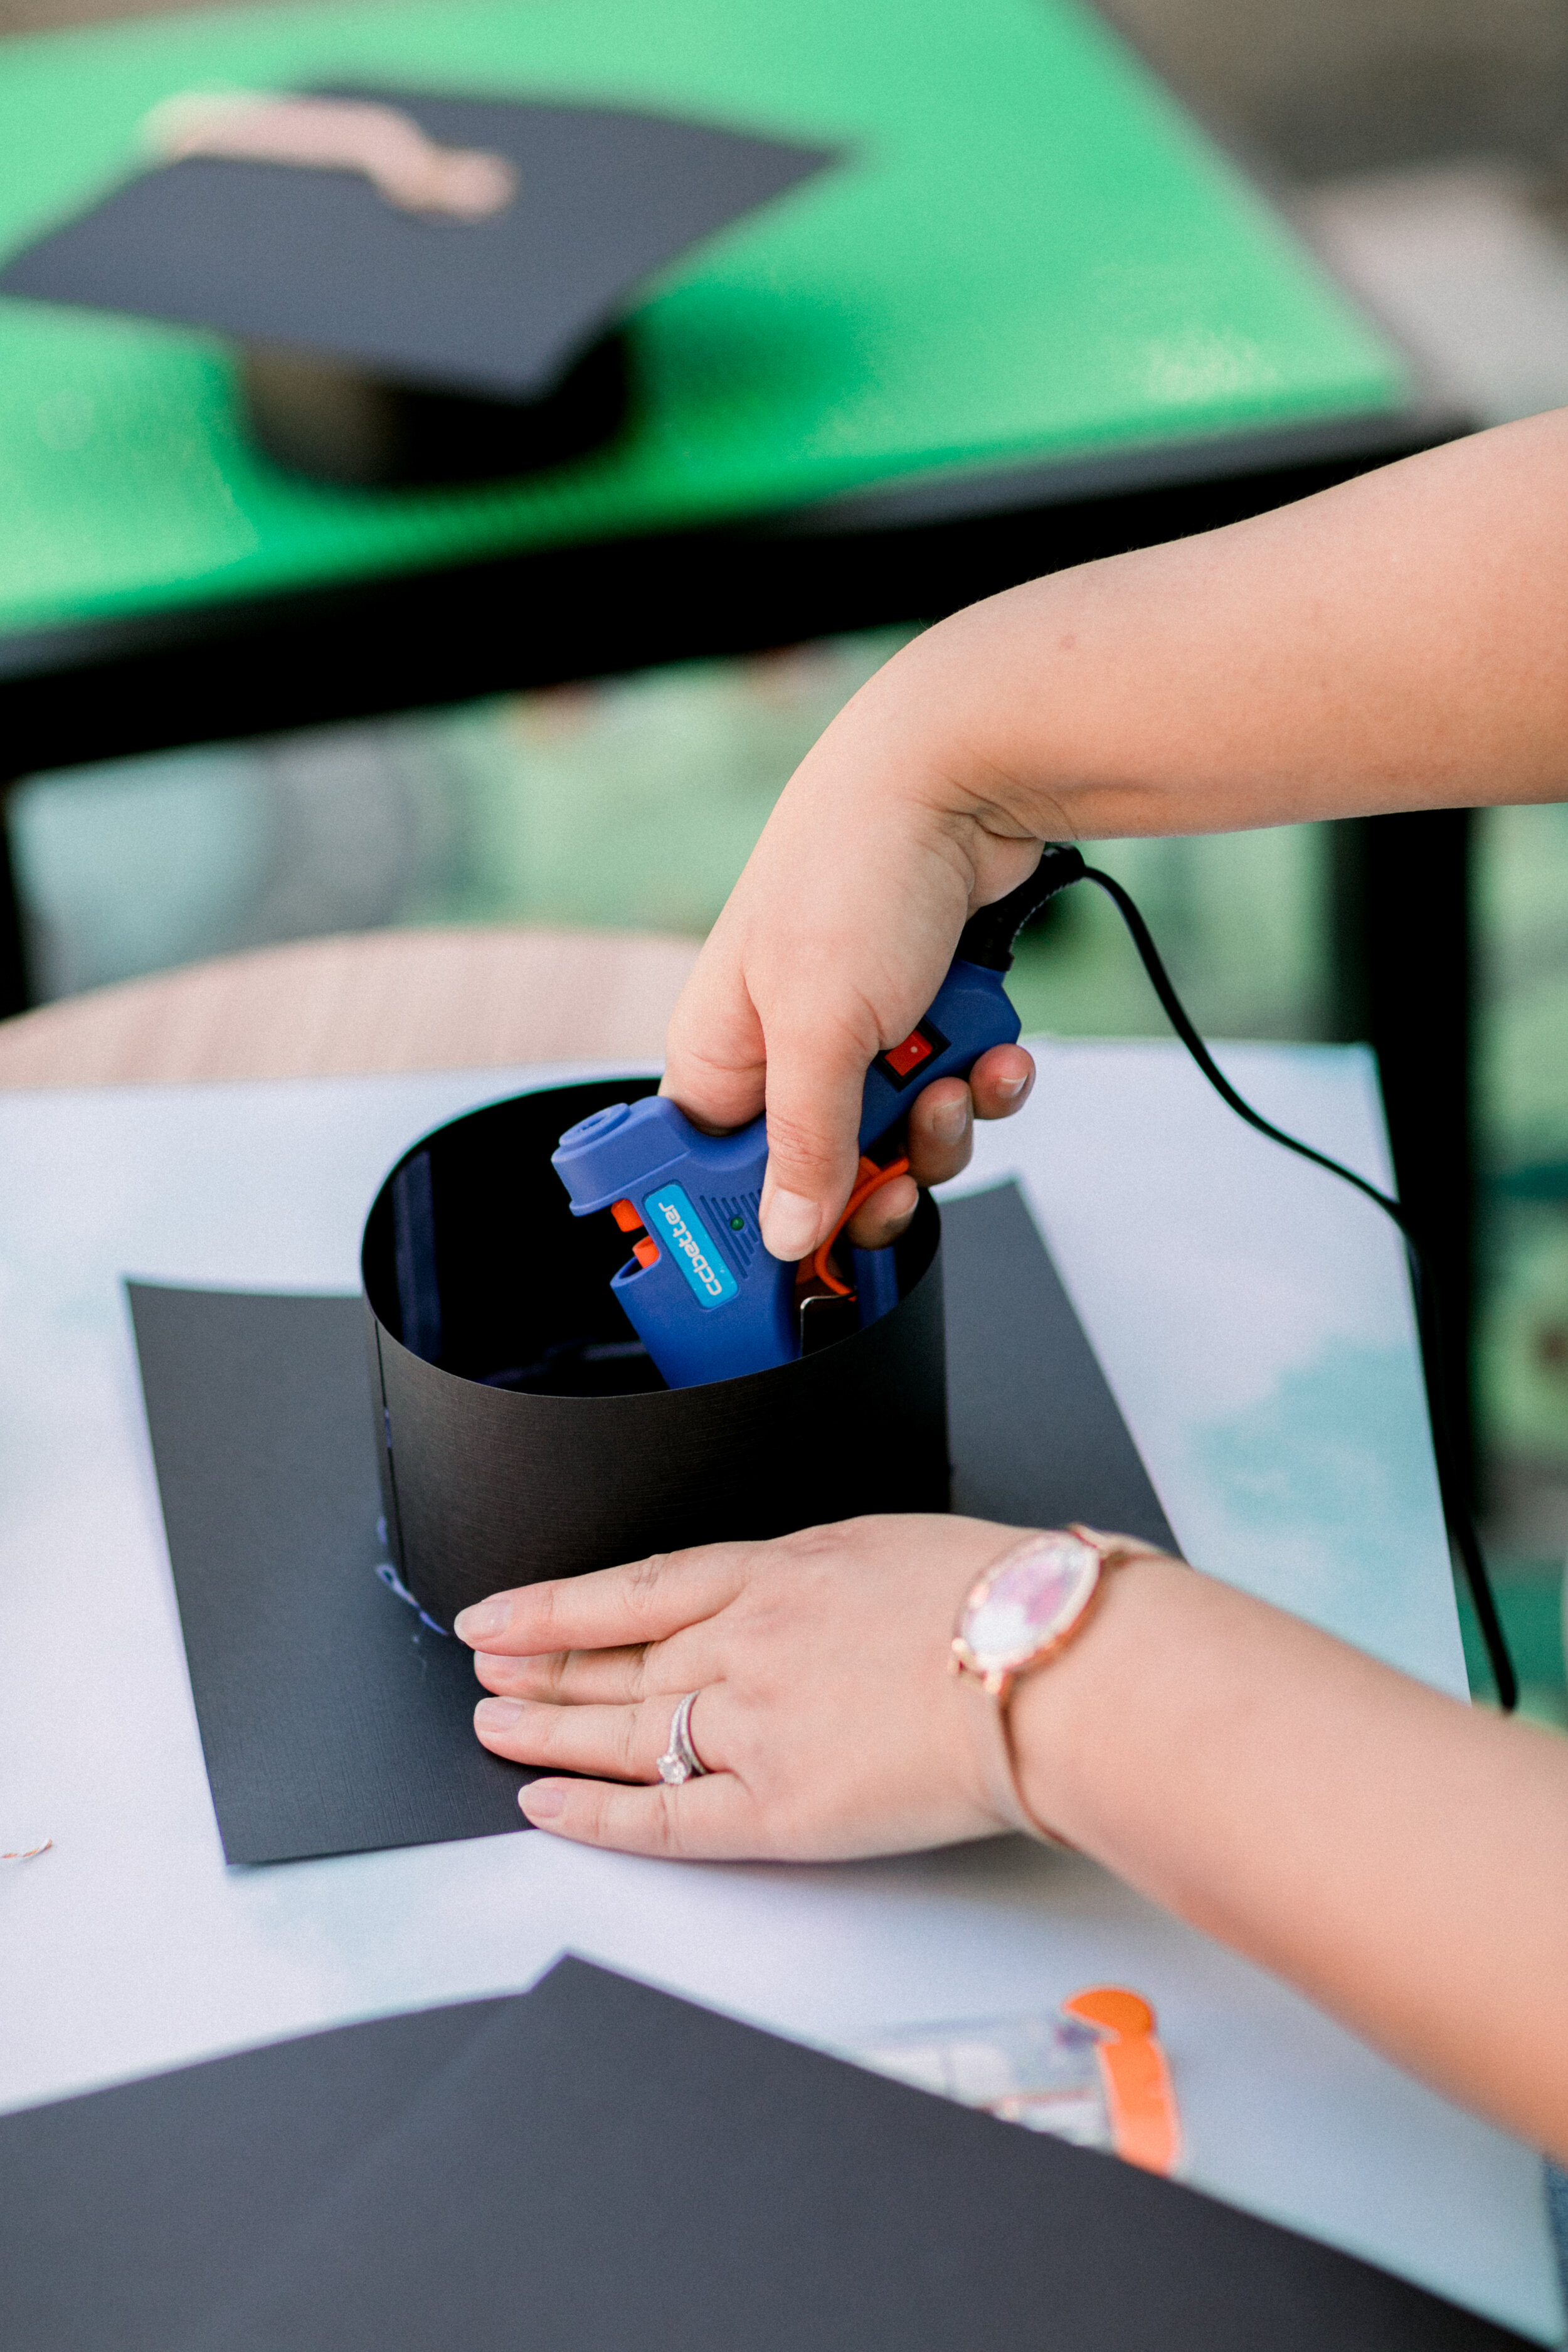
3. Then, wrap the strip around your child’s head to ensure that you have sized the graduation cap appropriately. Add glue along the shorter edges of your strips and press them together to create a continuous loop. Set aside to dry.
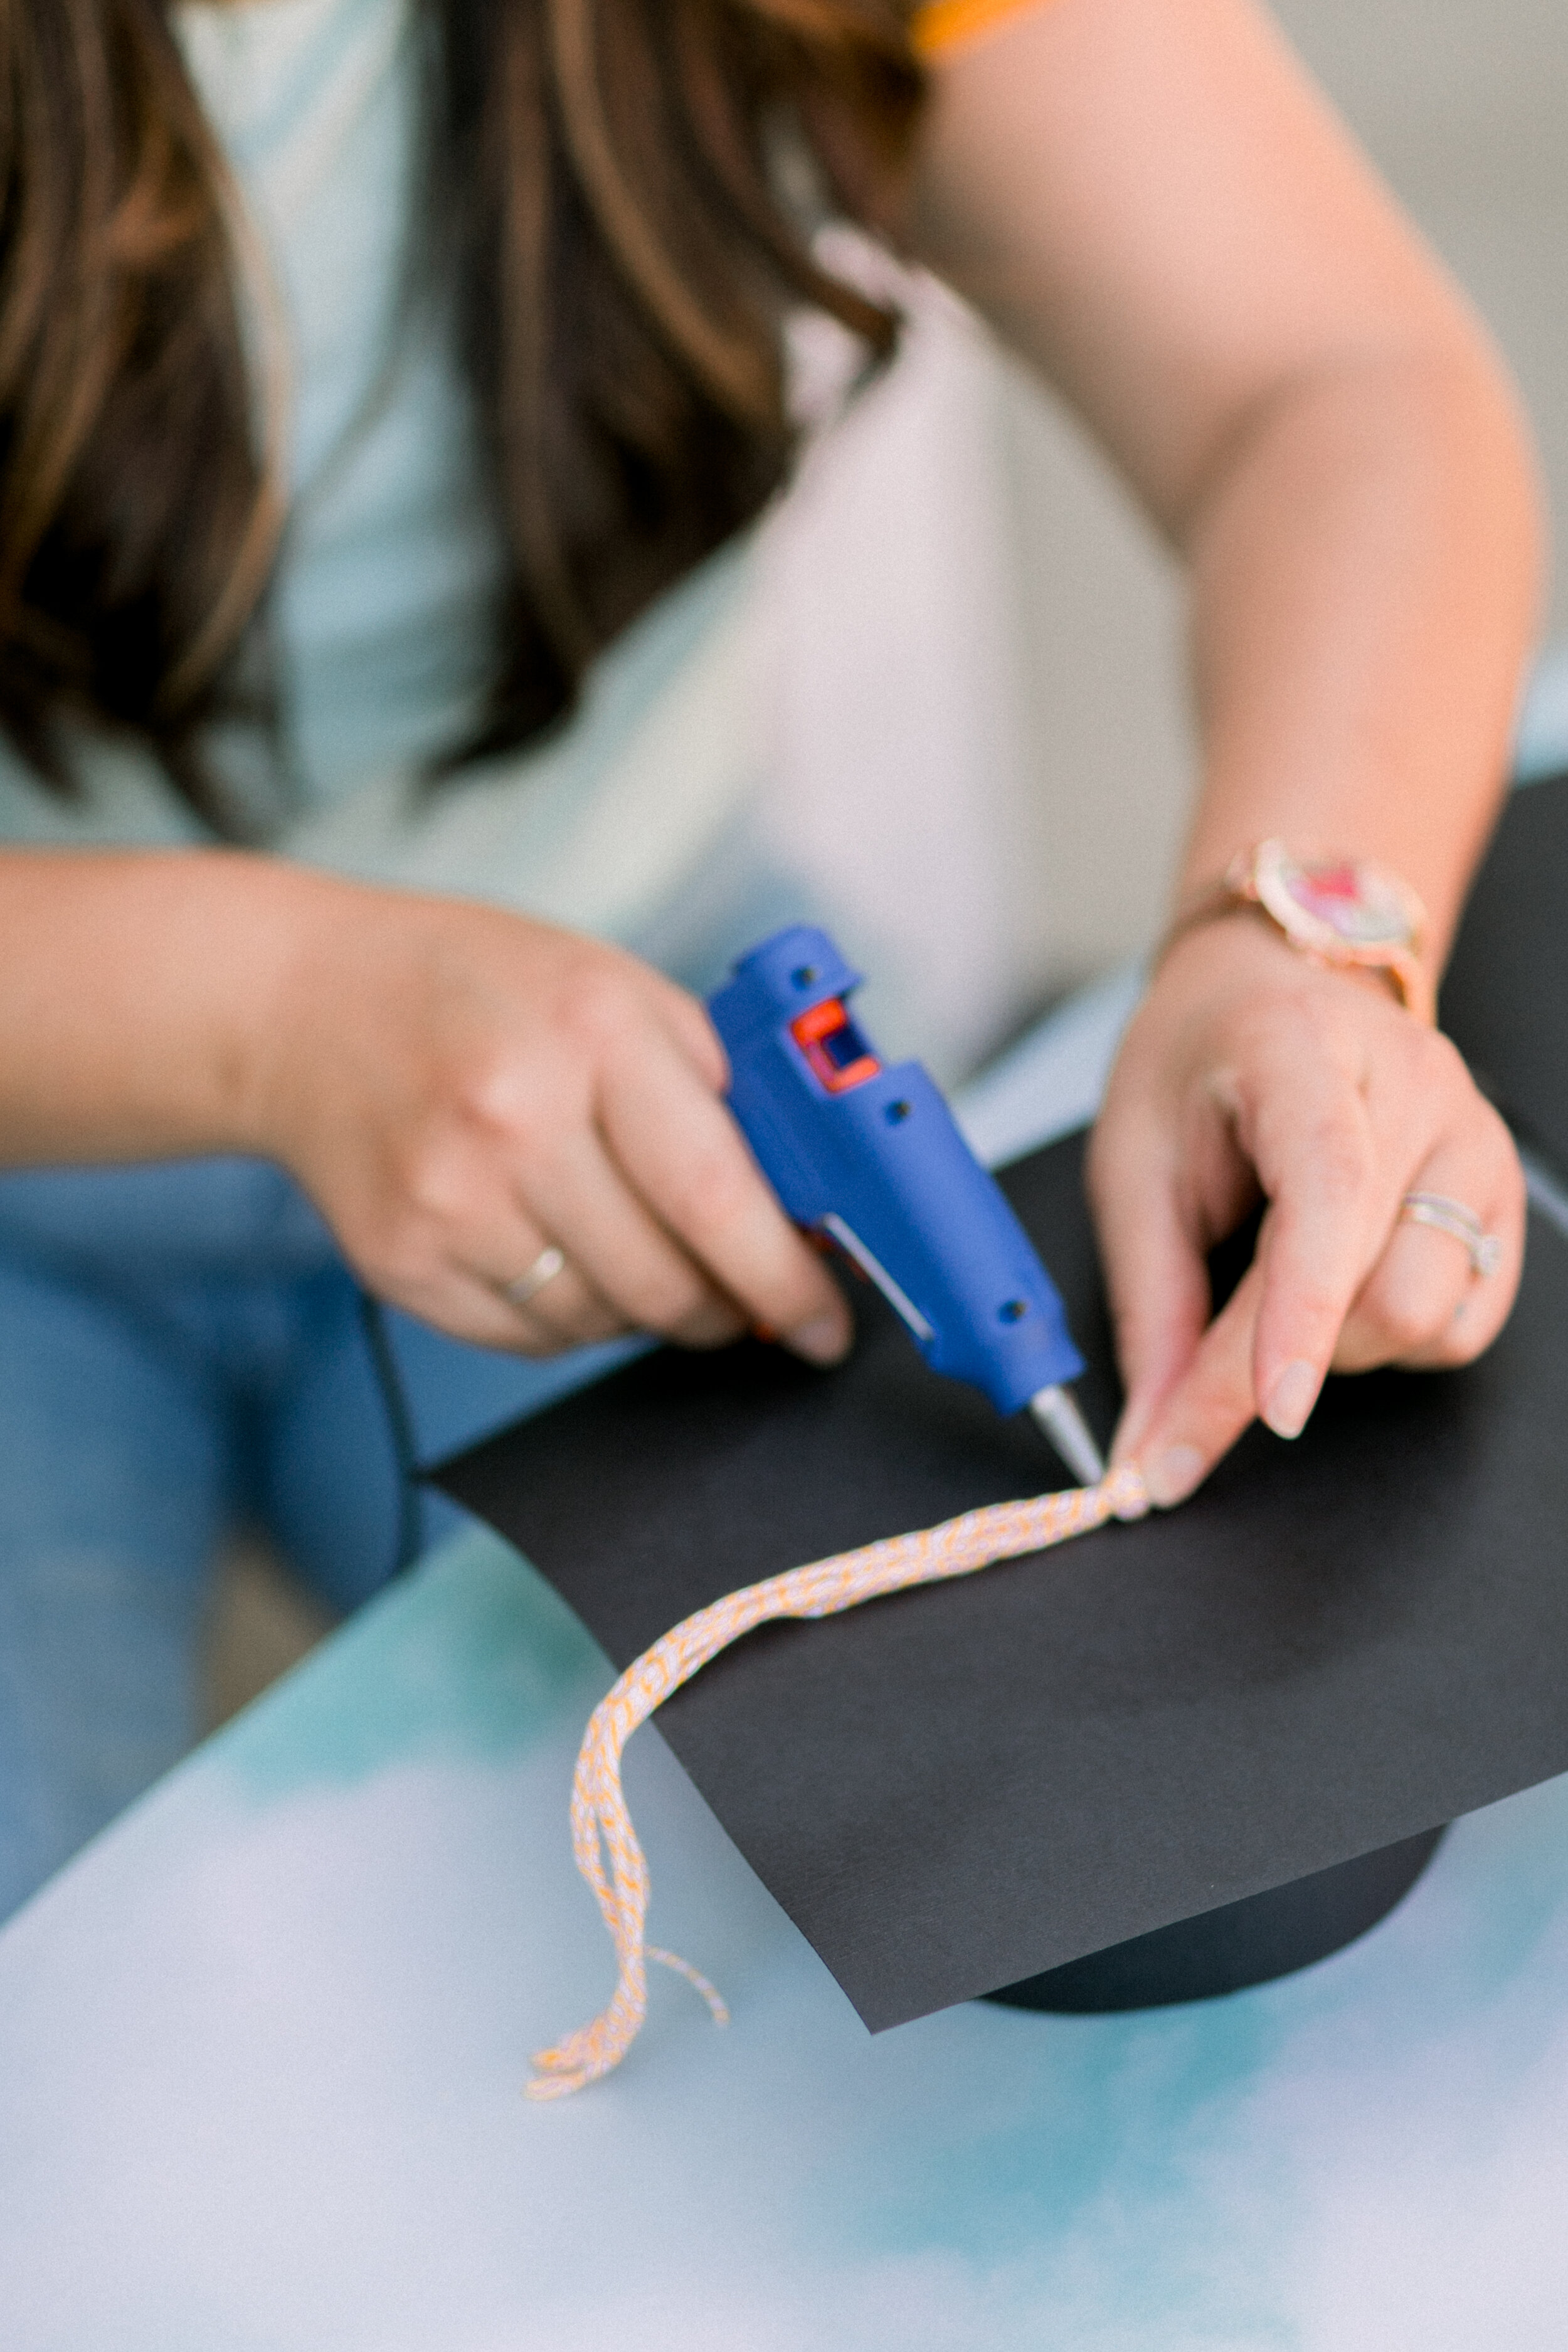
4. To create the tassel of the graduation cap, simply gather some lengths of yarn or ribbon and tie them into a low knot. Snip and fringe to create the tassels. Add some glue to the end of the tassel and attach it to the center of the cap.

5. Finally, add a strip of glue along the top rim of the loop you previously set aside to dry. Place the top half of the hat on the loop and press gently. Allow to dry.
6. Once all of your pieces are dry and secure, your child’s graduation cap is ready for their makeshift celebration!
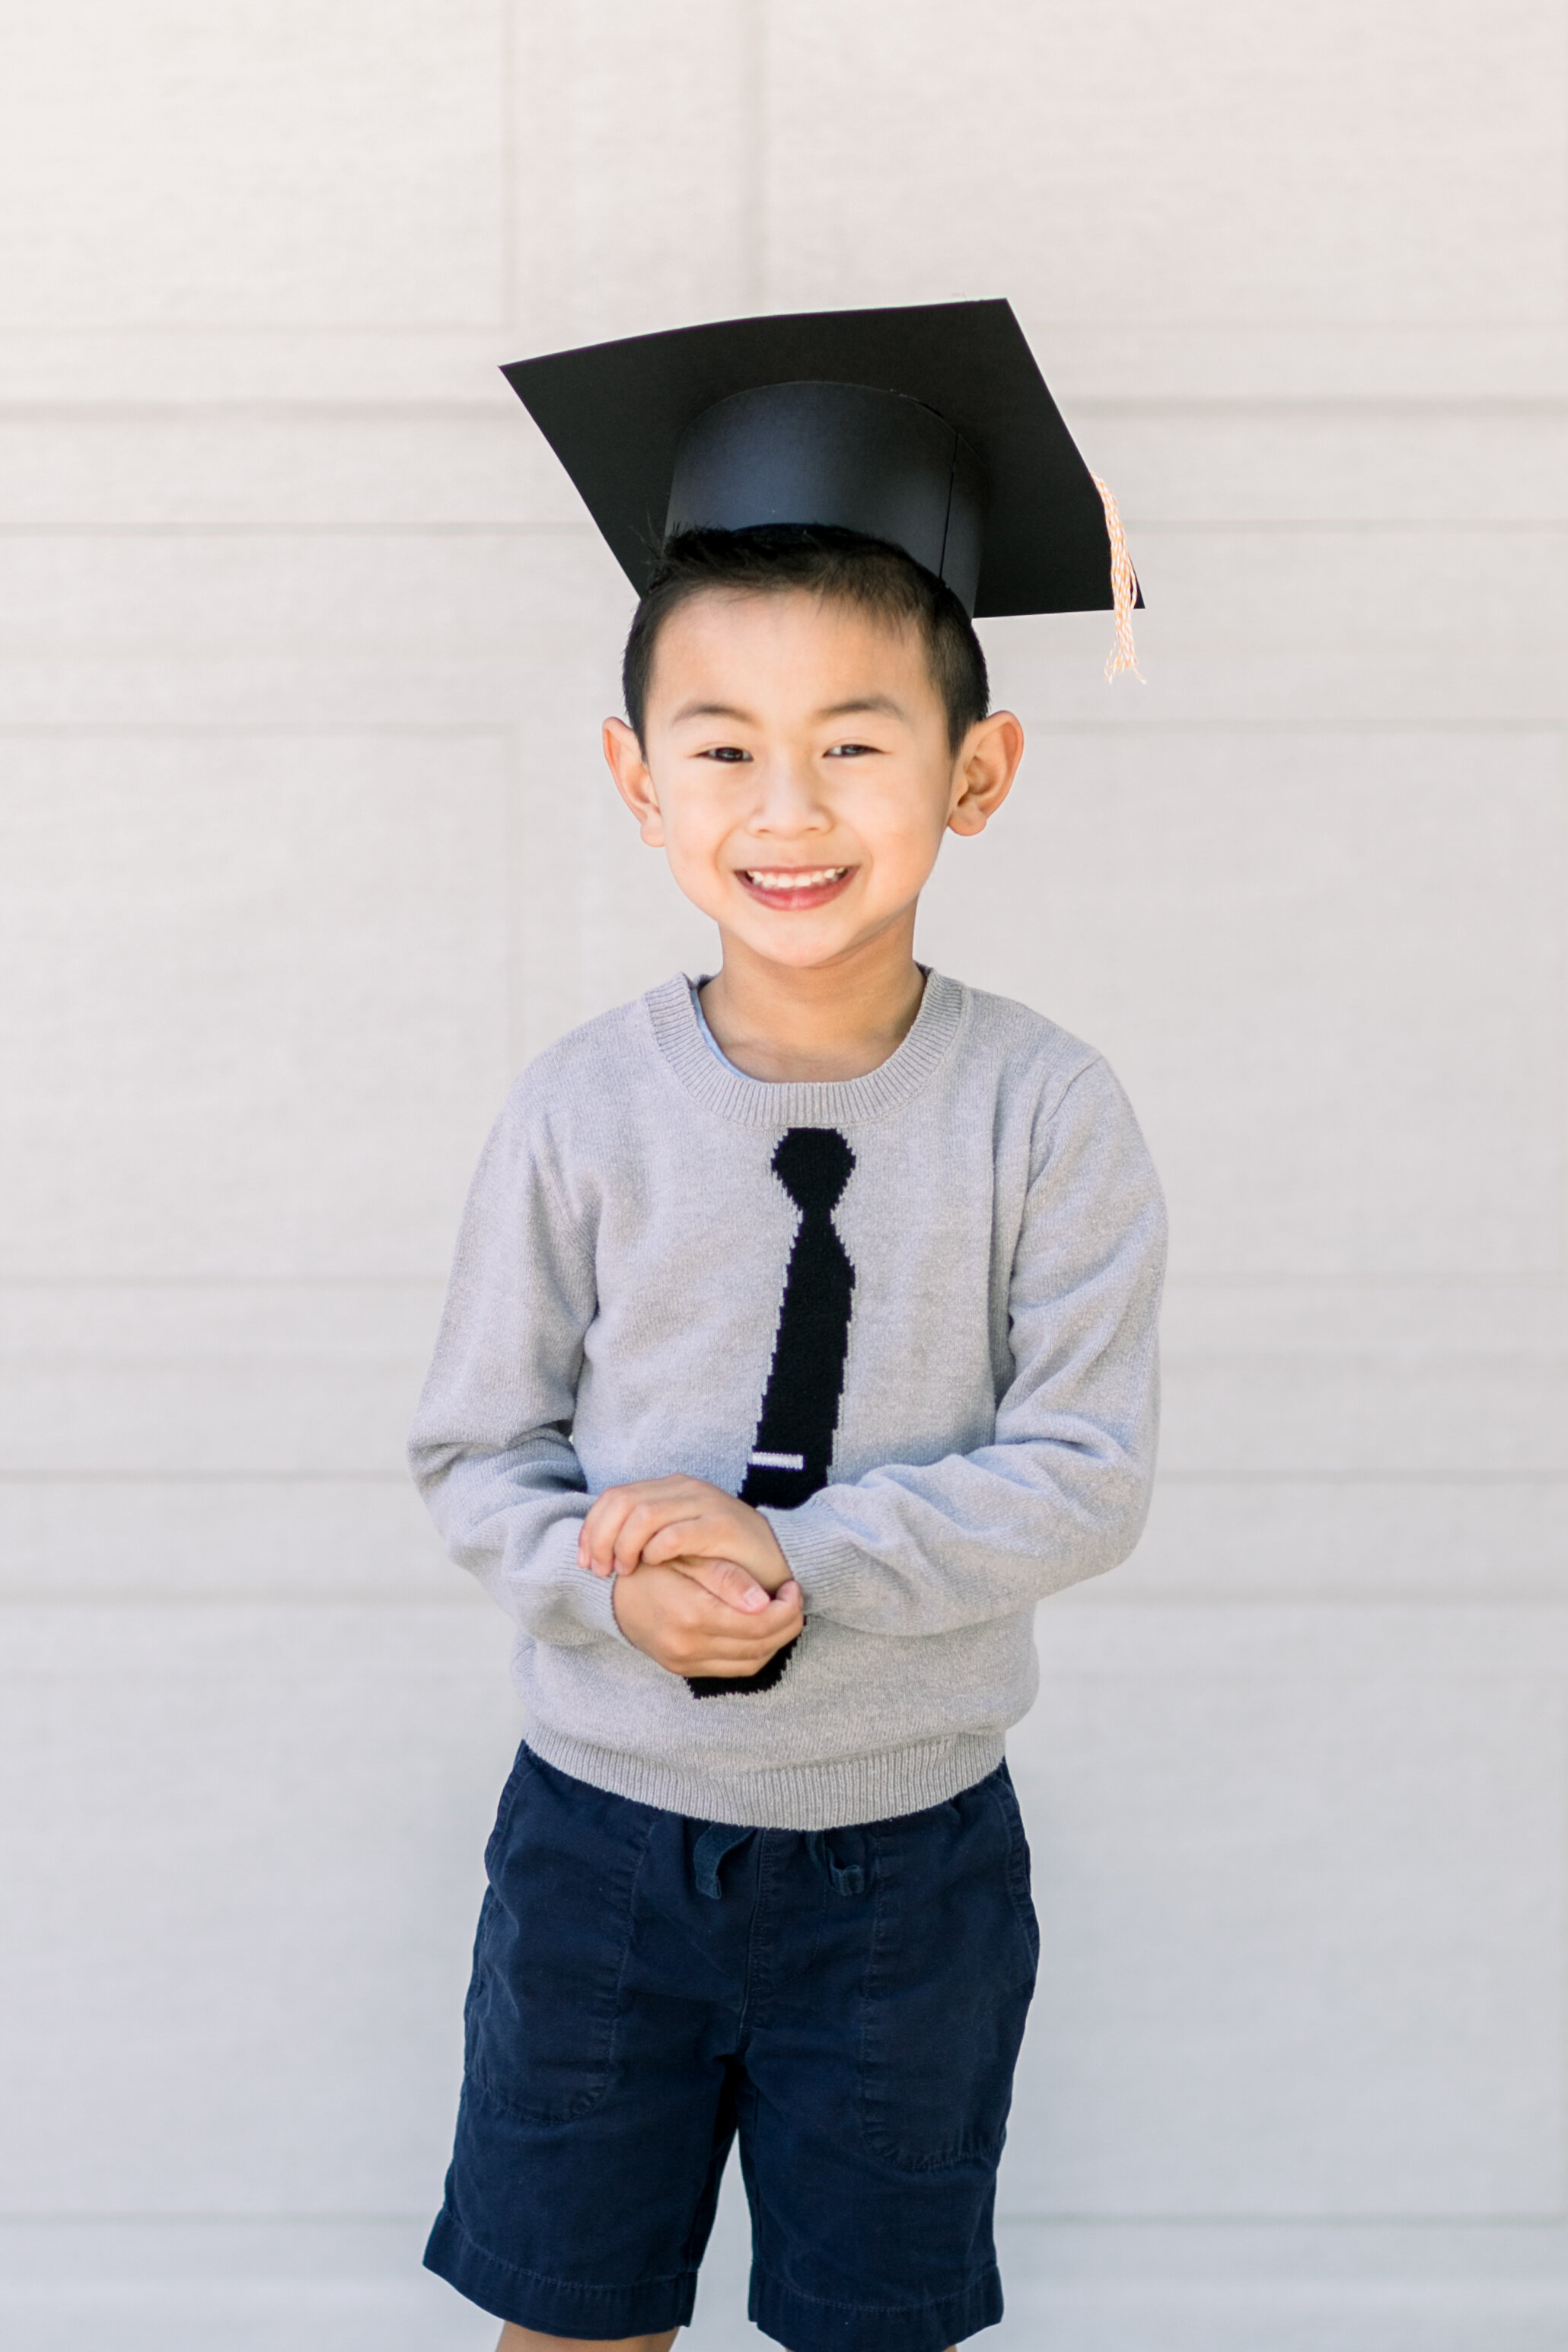
This is a fun way to celebrate your child’s achievements and it will really make them feel special in these trying times.

Written by Head Rascal (Ngoc Nguyen Lay), mother of two rascals, ages 5 and 7. Photos by Simply Adri Photography.
Shop This Post